If your compost heap is starting to look more like a pile of sticks or soggy leaves than rich, crumbly compost, you’re not alone. As autumn turns colder, many gardeners notice their compost heap suddenly slows down or stops working altogether.
The good news? In most cases, there are a few simple reasons why compost stalls, and just as simple fixes you can apply before winter sets in.
Below, we’ll break down the most common causes of stalled compost and walk through an easy rescue plan to get things moving again.
Reason 1: Your Compost Is Too Dry
One of the most common reasons compost stops breaking down is lack of moisture. Even in the UK, compost heaps dry out surprisingly easily, especially when cold winds and dry spells arrive.
Compost relies on microbes to do the hard work, and when conditions get too dry, those microbes essentially go to sleep.
How to Check
Your compost should feel like a wrung-out sponge, damp, but not dusty, crumbly, or bone dry.
How to Fix It
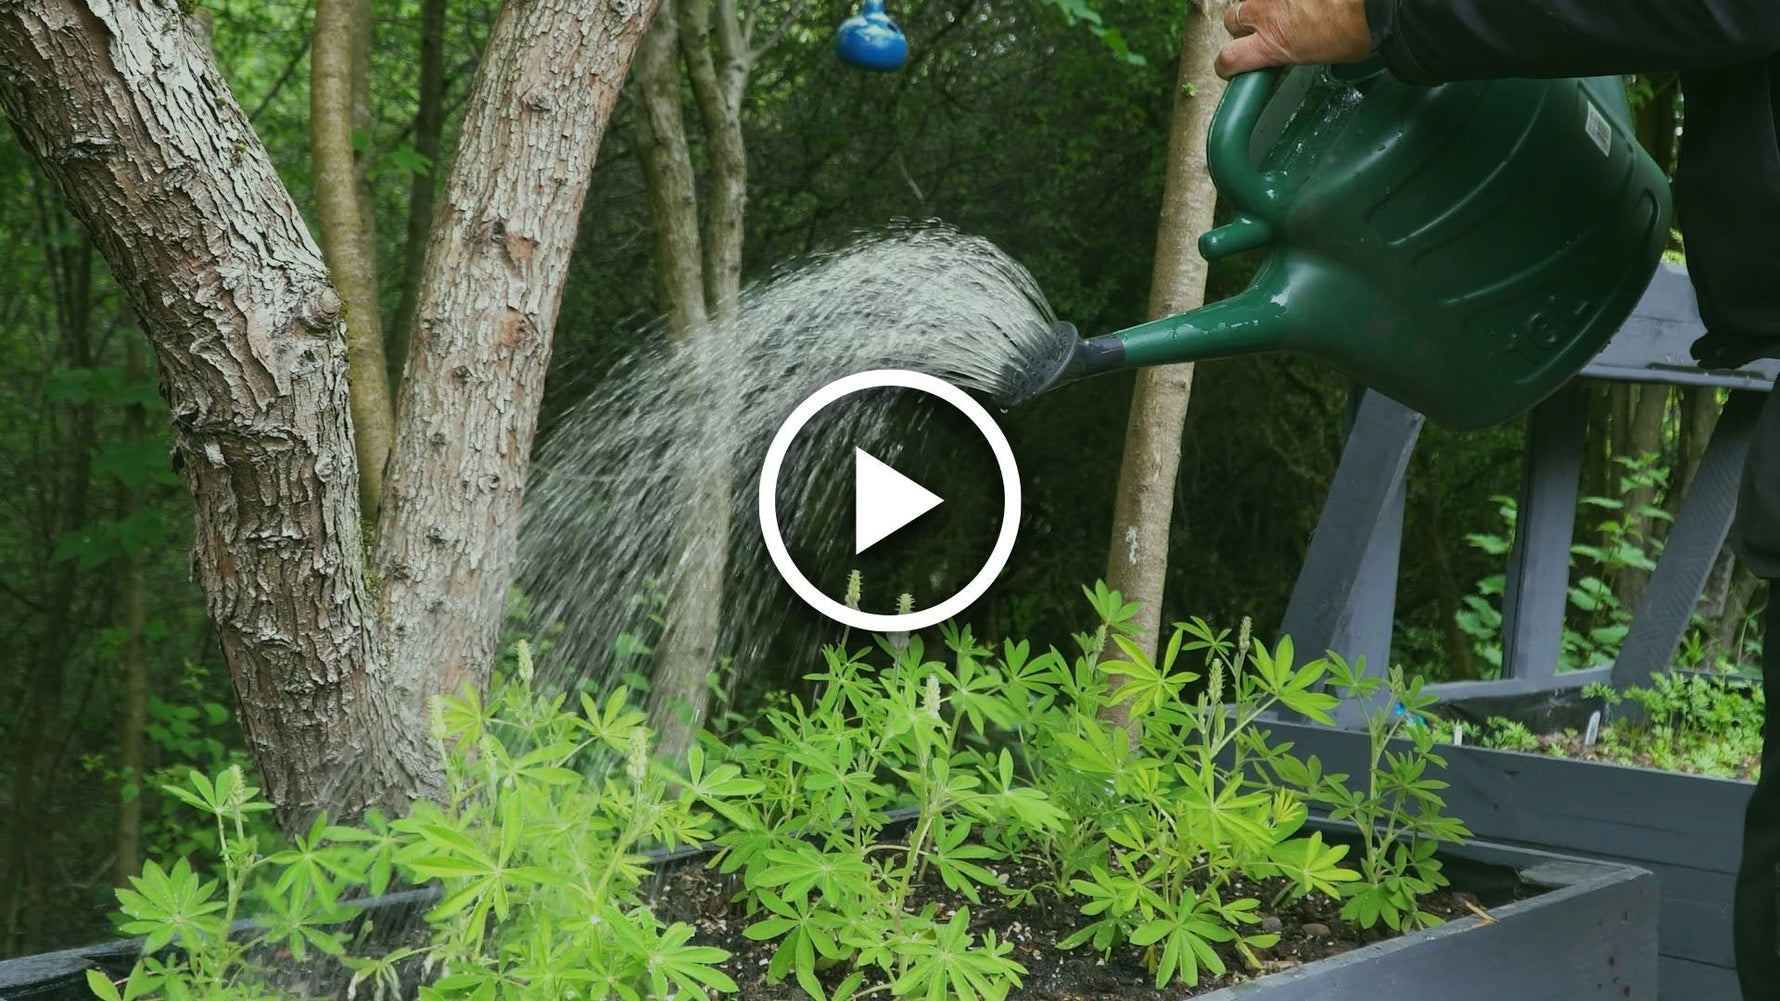
Gently water the heap using a watering can
Mix in some green materials such as grass clippings or vegetable scraps
Avoid flooding, too much water can cause other problems
Restoring moisture alone can often kick-start a sluggish heap.
Reason 2: The Greens-to-Browns Ratio Is Off
Another major cause of stalled compost is an imbalanced mix.
Too Many Browns
Materials like leaves, twigs, and cardboard can cause compost to become:
Slow
Woody
Dry
Stick-like
Too Many Greens
Grass clippings, kitchen scraps, and soft plant cuttings can make compost:
Wet
Smelly
Slimy
Both extremes will stall decomposition.
The Ideal Balance
Aim for roughly half greens and half browns, especially heading into winter.
Autumn is the perfect time to bag up fallen leaves, they’re an excellent brown material and help rebalance overly wet compost heaps.
Reason 3: Lack of Airflow
Compost needs oxygen just as much as it needs moisture and nutrients. When a heap becomes compacted, microbes don’t get enough air, and the breakdown process slows dramatically.
Once cold weather combines with poor airflow, the compost heap can effectively shut down.
How to Improve Airflow
Give the heap a light turn, no need to fully flip it
Mix in coarse browns like twigs or cardboard to open it up
Make sure air can enter from the bottom and sides
If your compost feels wet, heavy, or dense, airflow is often the underlying issue.
Reason 4: Cold Weather Slows Everything Down
Even if your compost was working well earlier in the year, colder temperatures will naturally slow microbial activity. If the heap wasn’t very active to begin with, winter conditions can amplify existing problems.
What You Can Do
Add more green materials to help generate heat
Maintain moisture at the wrung-out sponge level
Insulate the heap using cardboard, carpet, or similar materials
Keeping the compost insulated helps retain warmth and allows biological processes to continue through winter.
Speeding Things Up with Compost Accelerator
This exact winter slowdown is what inspired the creation of Envii Compost Accelerator.
It contains beneficial bacteria that help:
Restart microbial activity
Speed up decomposition
Maintain progress through colder temperatures
How to Use
Drop a tablet into a watering can
Leave it to dissolve, stir gently
Apply directly to the compost heap
Used regularly through the colder months, it significantly improves your chances of having high-quality compost ready for spring.
The Takeaway
If your compost isn’t breaking down, it’s almost always down to:
Dry conditions
An unbalanced mix
Poor airflow
Cold weather
A few simple adjustments now can save months of waiting later. Keep your compost moist, balanced, aerated, and insulated, and you’ll be rewarded with rich, usable compost when the growing season returns.