Planting spring bulbs is one of the most popular ways for gardeners to ensure that their gardens make a comeback with colour in spring. The unfortunate truth, however, is that despite how stunning bulb flowers can be, planting any single variety rarely ever lasts a good part of the season. Luckily, the special technique of lasagne planting spring bulbs means gardeners can enjoy the likes of crocus, tulip and allium flowers, effortlessly blooming in succession from early to late spring. Not to mention the added benefit of honeybees and bumblebees basking in the ample supply of nectar!
New to lasagne planting? Then read on to discover how to get the best display from your spring bulbs…
Skip to:
Lasagne Planting Spring Bulbs
(What is it?)
Bulb lasagne, or lasagne planting, if you didn’t already guess, is a Dutch term based on planting the bulbs in layers. Maybe not as appetizing as you first thought? The lasagne planting technique layers each bulb, one on top of another, alternating between bulbs and compost. This achieves dense and colourful displays from early March to late May. Which means you can enjoy a full season of spring flowers!
Learn how to make your own using this step by step guide…
How to Make a Bulb Lasagne
Step by step instructions
What you’ll need:
-3 Varieties of Spring Flowering Bulbs (Early, Mid & Late Season)
-Multi-Purpose or Bulb Planting Compost
-20cm/8inch Deep Pot or Container (with drainage holes)
-Large Pebbles or Crockery
-Horticultural Grit (Optional)
Instructions:
1. Start with a pot or container at least 20cm/8inches deep, with a drainage hole. If your container doesn’t have a drainage hole, be sure to drill some in, otherwise the bulbs will get waterlogged and rot.
2. Add broken crockery or large pebbles to the base of the pot to prevent the compost from blocking the drainage holes. Then, fill with roughly 2 inches of compost.
3. First, add the largest and latest flowering bulbs to the pot. Making sure they’re planted 3x their depth, 1 bulb apart and not touching the edges of the containers. This applies to all bulb layers.
4. Cover the bulbs with a couple of inches of compost. (optional: Mix your compost with horticultural grit to further improve drainage).
5. Repeat the process 2 more times, following with the middle layer and finishing with the smallest and earliest flowering bulbs on the top.
6. Cover the top bulbs with a couple of inches of compost, lightly pat the surface and water them once after planting.
7. Wait until spring for the flower show to begin!
4 Tips for Lasagne Planting Spring Bulbs:
1.Bulbs are best planted dry, dormant and rootless. If you have some lying around, waiting to be planted, do so as soon as possible.
2.Beginners should start with a 2-3-layer display. More experienced or daring gardeners might want to experiment with 4 to 5 layers of bulbs. Although, try not to overcrowd the pot!
3.Bulbs only need to be watered once upon initial planting and then more regularly when actively flowering. Over winter, make sure the compost is moist to touch and doesn’t dry out.
4.Most bulbs are good to plant in pots, however, those with big and bright displays are best suited to lasagne planting.
General Bulb Planting Tips
-Bulbs should always be planted pointy ends up and with the flat sides facing towards the center of the pot.
-Because most bulbs originate from warmer climates, they’re best positioned in the sunniest area of the garden.
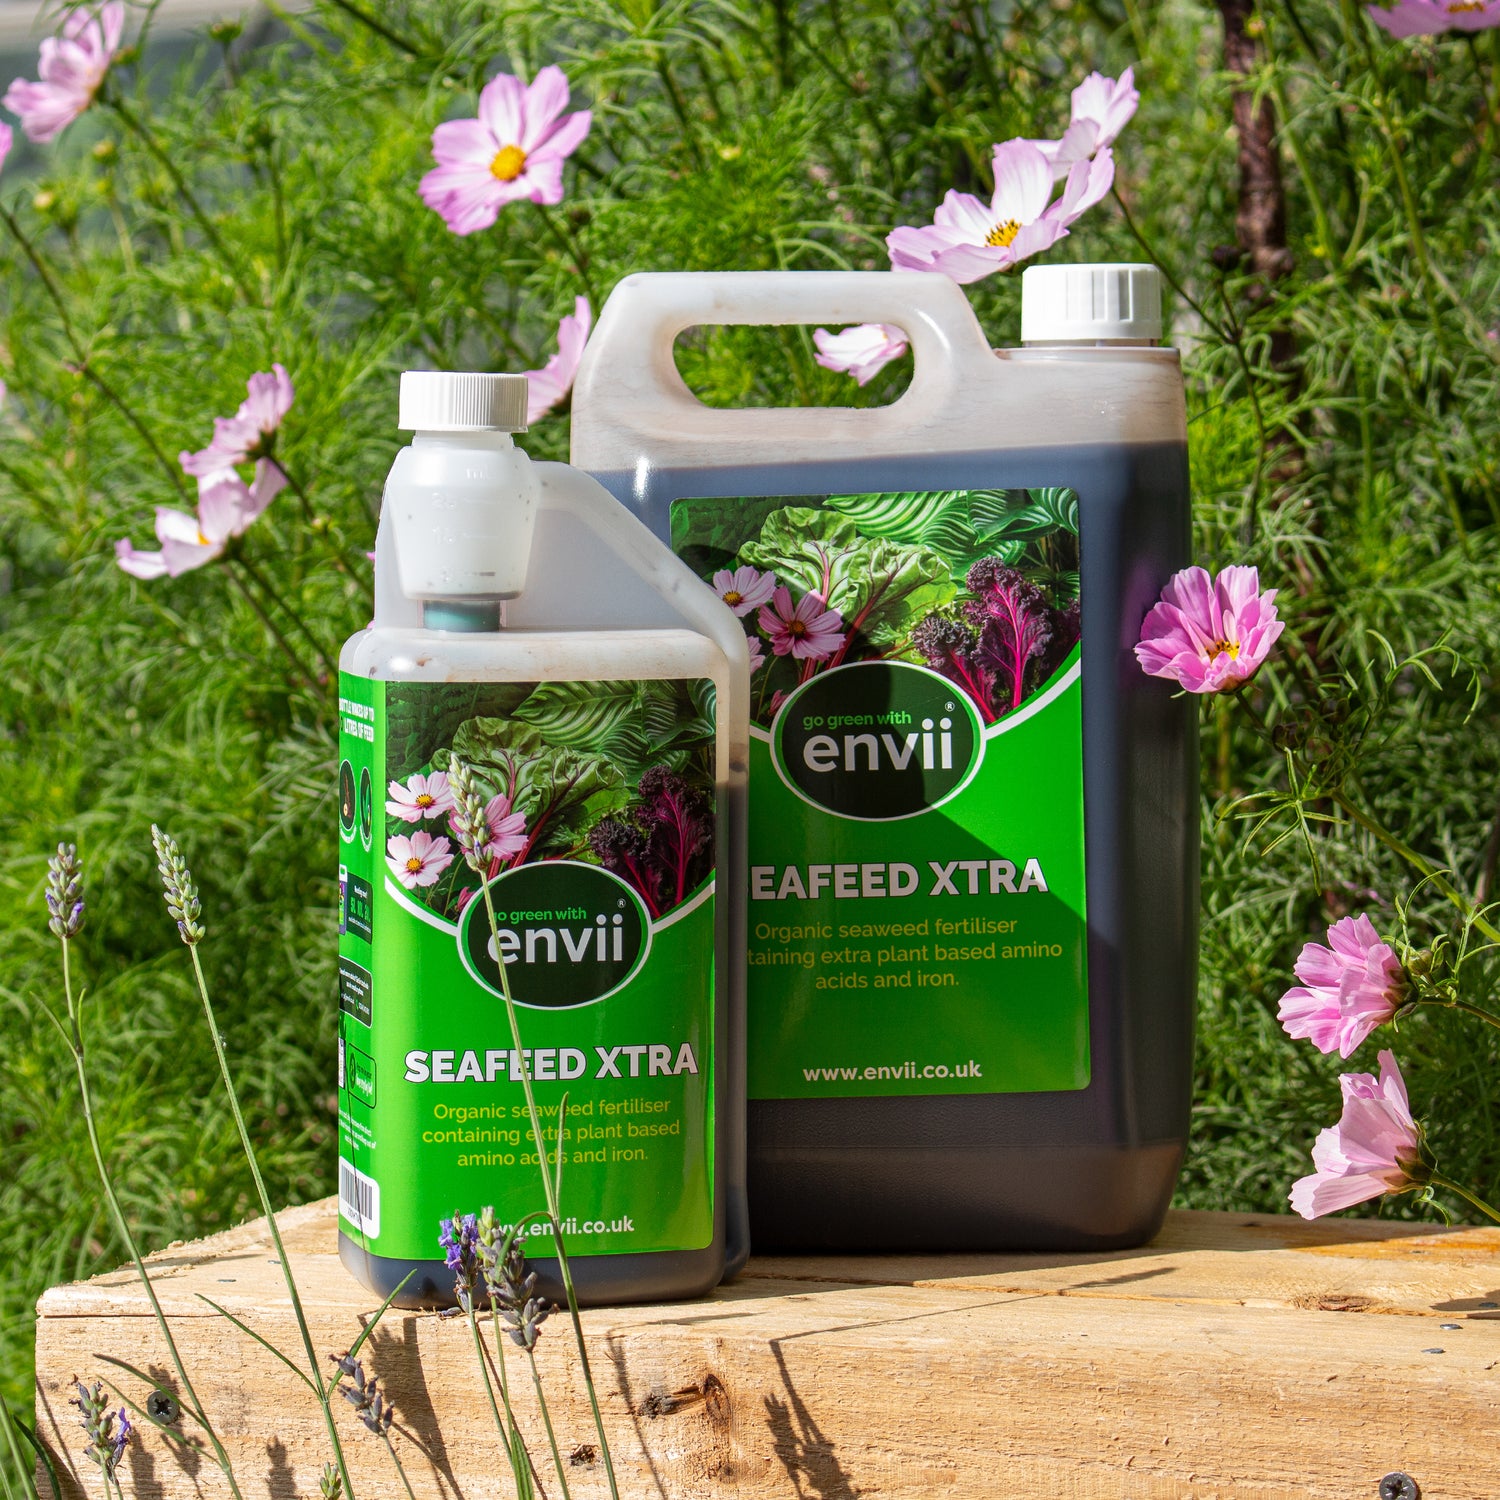
-Once the bulbs begin to grow in spring, give them a regular feed of Seafeed Xtra.
How to get the most out of your Spring bulbs
If you want to ensure that your Spring bulbs come back year after year, it’s crucial to allow their leaves to naturally wither and die back. This process ensures that all the essential nutrients are redirected back into the bulb, fuelling its growth for the following season.
Feeding with a seaweed-based fertiliser like Seafeed Xtra not only provides essential nutrients but also imparts beneficial compounds from seaweed, helping plants better cope with various environmental stresses.
By following these steps, you can enjoy a flourishing display of spring bulbs that brighten your garden each year with renewed vitality!